Black and White
All hand made, all unique, all the time
|
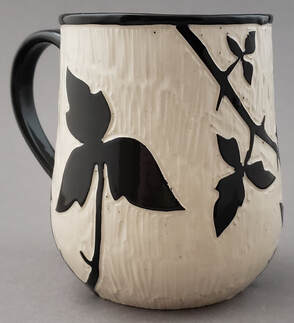
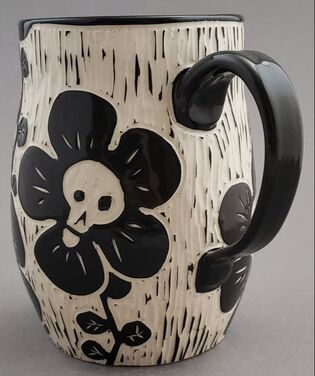
All of the work in the black and white line is made by hand, primarily thrown on the pottery wheel. Functionality is my primary goal; I continually refine handles, edges, shape and design in order to make a better pot. Though the visual design is important, what use is the mug if no one wants to use it?
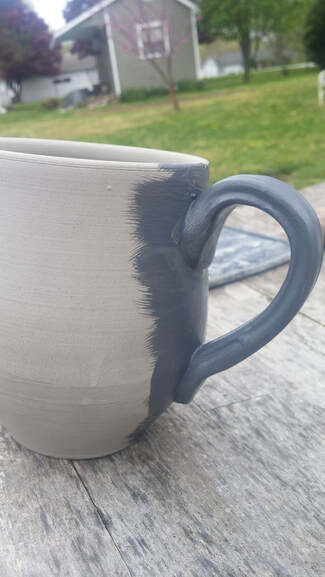
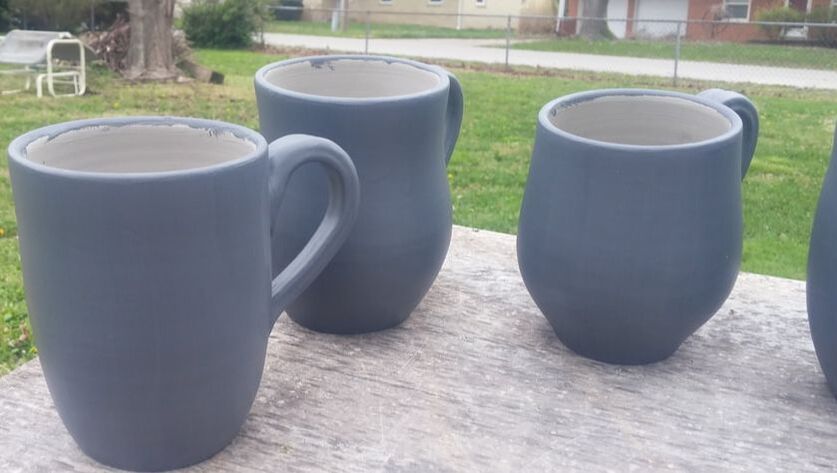
So, uhhhh, do you paint the designs on?Not quite. The short version - I throw each piece on the pottery wheel. It is then dried, trimmed and painted with a black liquid clay called slip. Once that is dry enough, I carve through to reveal the white clay underneath. The piece will go through one firing to solidify it, glaze (a glass-like material) is applied, then it is fired again to 'set' the glaze.
That's the ...very... short version. Read on for the more technical and totally enlightening version! With pictures! |
The making of a mug
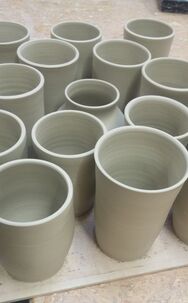
Once dry enough, the mug is cut free from the board underneath and flipped over to dry some more. When to an appropriate level of dryness (leatherhard), the pot is re-centered on the wheelhead, tacked down with some fresh clay, and trimmed. In making a mug, I will usually pull all my handles before trimming - this gives the handles time to stiffen up so that they can be attached to the mug body when I am done trimming.
|
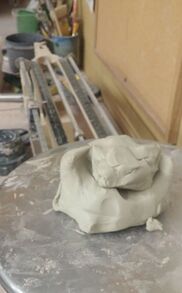
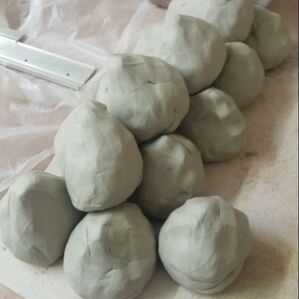
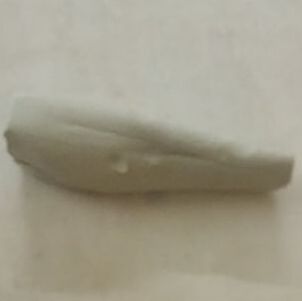
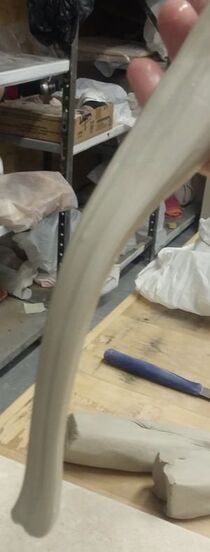
Handle start as giant 'nuggets' that are rolled into approximately the shape needed. They (and my pullin' hand) are then dunked into water, and gradually stretched and compressed to the shape that I want. Each giant nugget will yield 7-15 handles, and is reshaped as I cut sections off. I generally make 2-3 more handles than I will actually need - just in case.
|
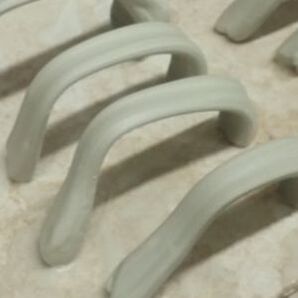
Handles are then set aside to stiffen up a bit. They will be cut and shaped further when added to the mug. While they are all similar, I chose each handle based off the mug body that it will be added to.
|
|
Mugs (now with handles attached) are usually left turned upside down under wraps overnight. Keeping them wrapped gives the handles and body of the mug time to get to the same level of moisture. The mugs are turned upside down while under wraps as the handles are generally somewhat soft - if they are to droop, I want to control the direction that they go.
|
|
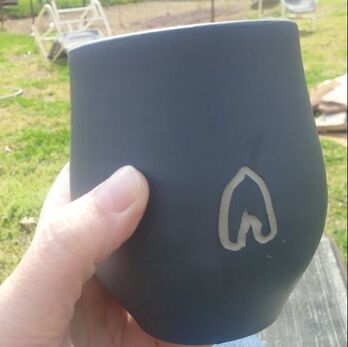
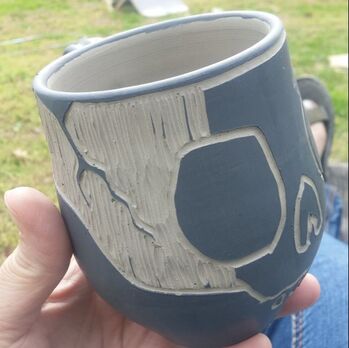
And finally! Once the slip is at a good stage to carve (slightly past leather hard, or the consistency of butter that has been in the fridge), I gather all my tools. I have 3 tools that I favor; one that is about 2mm wide, one that is a round loop of about 4mm wide, and an old paintbrush that I keep sharpened to a point with an exacto knife. Sometimes the design is painted onto the mug using water-based ink, but generally I just begin by free-handing with whichever tool. Areas are defined, crumbs are brushed away, and background is carved out by the larger loop. Once done, the pots are again covered so they don’t dry too fast.
|
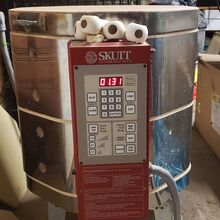
As I live in MIssouri, land of humidity, the time that pots are left to dry under wraps will vary greatly. Sometimes just one day, then they are put straight on the concrete-board that I use as ware-boards and covered lightly. Sometimes I forget about them, and they are under wraps for weeks. It isn’t really possible to dry them too slowly, but it is very easy to dry them too fast. If they do dry too fast or unevenly, that is a LOT of effort all gone to waste - because the handle will break, or cracks will form. Once sufficiently dry under wraps, they are usually left out in open air for at least a day. While I can and do use a preheat on my kiln, I prefer to have pots fairly dry in order to clean the bottoms up before they go in the kiln. (A preheat is a means of holding the kiln just under the boiling point of water to drive out any remaining vapor.)
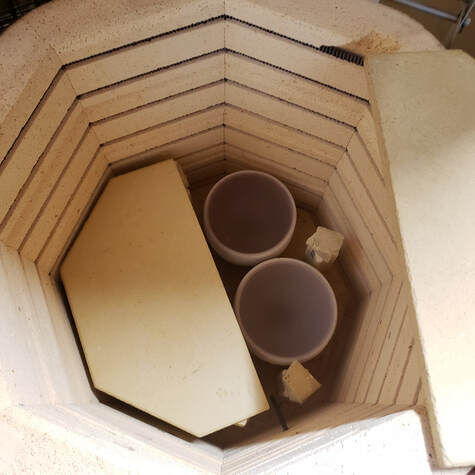
After the first firing, called the bisque firing (around 1730F), the pieces are then solidified. Once cool enough, the pieces are removed from the kiln, given a light sanding to remove rough edges, and then glazed. Glazing is the process of applying a mixture of chemicals that will melt in the kiln, and solidify while cooling into a glass-like surface. On my black and white work, I (generally) use a durable black liner glaze on the inside of things. Due to the chemicals in the glaze, it appears red - but through SCIENCE!, it will come out black. I usually pour the black glaze, though I use a spray gun to apply my clear glaze to ensure a consistent thickness. The clear glaze will go on white, but again SCIENCE! will make it transparent.
Once the glaze is dried enough to touch, pieces are loaded into the kiln and fired to around 2100F. Again, once cooled, pieces are unloaded from the kiln and given a final sanding on the bottom. Mostly, this is the last step before they are ready to be sold - though sometimes I will add a finishing addition of a luster. Lusters are essentially particles of metal in a fluid, that can be painted on, fired to a lower temperature (around 1250F) and will come out shiny! Sadly, these pieces are NOT microwave safe. Don’t do it. Sparks will fly. Handwashing is recommended, as the luster may wear off over time in the dishwasher - though I have yet to experience this.
And that’s pretty much the process of the black and white work!
Check out the way-too-detailed process of how I make my other line of work here!
